

 By Nathan Hawes
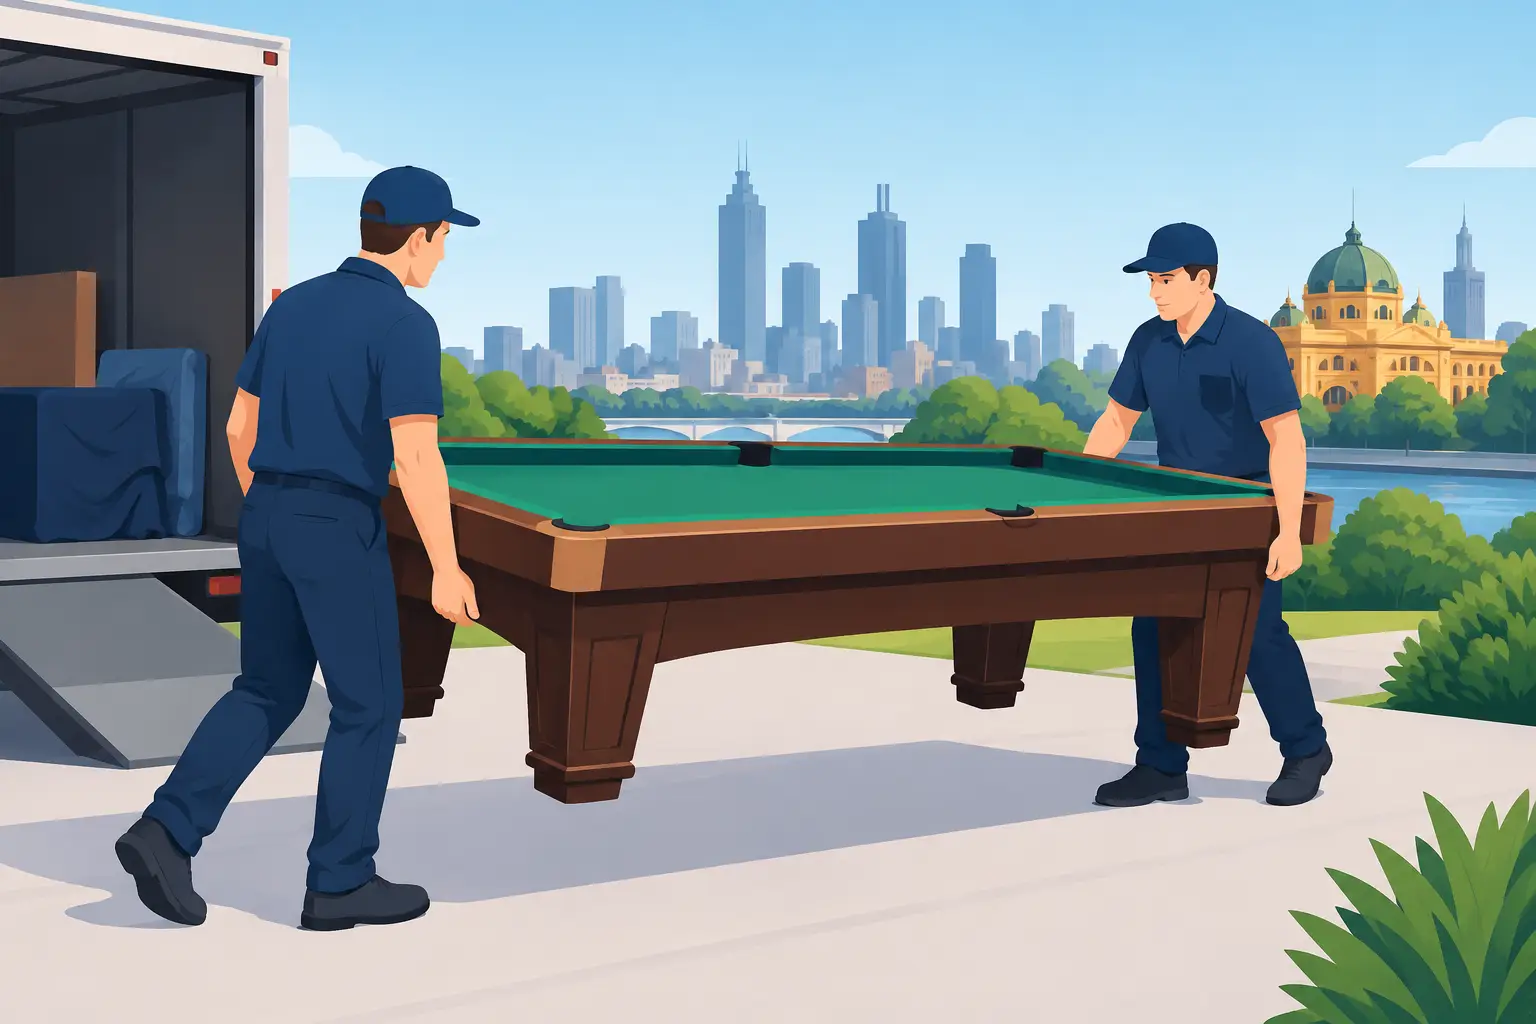
A pool table can look like one solid piece of furniture, but it is really a collection of heavy, precise parts that need to go back together exactly right. Knowing how to move pool tables is less about raw strength and more about planning, careful dismantling and protecting the slate, frame and cloth from damage.
For a table being moved across Traralgon, Gippsland or further through Victoria, do not treat it like a large couch. Trying to carry it whole can injure the people lifting it, crack the slate and twist the cabinet. A proper move takes time, clear access and the right equipment.
Why pool tables need special care
Most full-size pool tables weigh several hundred kilograms. The heaviest part is usually the slate bed, which may be made from one, two or three pieces. While slate is hard, it is also brittle. A knock on a door frame, a rough landing on a trolley or pressure in the wrong spot can chip or crack it.
The table’s level matters just as much. Even a small shift in the frame or slate can affect how balls roll. That is why a pool table that arrives looking fine may still need careful reassembly and levelling before it plays properly again.
There is also the practical side of a Victorian move. Narrow hallways, front steps, wet driveways, unit stairwells and limited parking can turn a straightforward job into a difficult one. Check the full route at both properties before deciding whether it is safe to handle yourself.
How to move pool tables: plan the job first
Start by measuring the table, not just the room it sits in. Measure doorways, hallways, stair landings, gates and any tight turns between the table and the truck. Include the path from the vehicle to the new games room as well. A table that can leave one house may not fit through the access at the other end without further dismantling.
Before moving day, make sure you have a clear work area and somewhere safe to place parts as they come off. Keep children and pets away from the work zone. If weather is expected, plan how you will keep timber components and cloth dry while loading.
A few checks can prevent most avoidable problems:
- confirm whether the table has one-piece, two-piece or three-piece slate;
- photograph the table, pockets, legs and underside before dismantling;
- clear rugs, loose items and trip hazards from the carrying route;
- reserve close parking space for the removals truck or ute-sized access vehicle;
- make sure the new room has enough clearance to play around all sides of the table.
Pool tables are not all built the same. A lightweight MDF-top table may be easier to shift than a slate table, but it still needs protection from bending and moisture. Antique timber tables, coin-operated tables and oversized snooker tables may need a more specialised approach.
Dismantle the table in the right order
The safe approach is to take the table apart in stages. Remove balls, cues, accessories and any detachable light fitting first. Take off the ball pockets, rails and cushions, then label screws and fittings in separate bags. Mark each bag clearly rather than relying on memory later.
The felt or cloth is the next consideration. If it is in good condition and you plan to reuse it, it needs to be removed carefully. Cloth can be stapled or glued beneath the rails, and pulling it off too quickly can stretch or tear it. In some cases, especially with older cloth, replacing it during reassembly makes more sense than trying to salvage it.
Once the cloth is removed, the slate fixing points can be accessed. Slate sections should be lifted flat and carried on edge only when properly supported and wrapped. Never stand a slate piece upright without securing it. It can tip, crack or cause a serious injury.
The cabinet, legs and cross beams can then be dismantled where the table design allows. Keep fasteners with their matching parts, and take photos at each stage. This makes reassembly far easier, particularly if the table has decorative timber sections or adjustable leg hardware.
Pack and load each part properly
Use padded removal blankets around timber rails, cabinet sections and legs. Secure the blankets with tape or straps, but do not stick packing tape directly to finished timber, vinyl or cloth. Corners need extra padding because they are most likely to take a knock while moving through doorways.
Slate should be wrapped in blankets or purpose-made protective material, then secured upright in the truck against a solid wall. It must not be allowed to slide around during transport. Heavy slate is not a job for one person, and it should not be loaded on top of household boxes or loose furniture.
Keep rails flat where possible to avoid warping. Pocket liners, bolts and smaller fittings should travel in labelled containers rather than loose in a box. A simple inventory helps when there are several pieces being moved at once.
When loading the truck, pool table parts should be positioned low and secured early. Heavy items belong near the front and against the walls, with lighter furniture packed around them only where it will not place pressure on the table components. Good load restraint matters on regional roads, where braking, corners and uneven surfaces can shift an unsecured load.
Reassembly is where precision counts
At the new property, bring the table parts into the room before starting to rebuild it. It is much easier to position the cabinet correctly before slate goes back on. Allow enough space around the table for cueing. As a guide, you need the table size plus room for a full cue on every side, though shorter cues can help in tighter rooms.
Assemble the frame on a stable floor and check that it is square before placing the slate. The slate is then fitted, joined and levelled using the table’s adjustment points or shims where needed. This is not a step to rush. A table can look level to the eye but still play poorly if the surface has a slight fall or the slate joins are uneven.
The seams between slate sections are normally filled and smoothed before the cloth is fitted. The cloth must be stretched evenly, with no wrinkles or loose areas, then the rails and pockets are refitted. Finally, test the table from several directions with a ball. If it consistently rolls to one side, the levelling needs more work.
When it makes sense to use professional pool table movers
A DIY move may be manageable for a small, lightweight table with easy ground-level access and several capable people. Even then, hiring equipment and allowing a full day is sensible. The trade-off is that a mistake can cost more than a professional move, particularly if slate breaks or the table needs specialist repairs afterwards.
Professional help is the safer choice for slate tables, stairs, tight access, long-distance transport, heritage furniture or a table that needs to be dismantled and re-levelled for play. Experienced removalists bring protective blankets, trolleys, straps and a practical lifting plan. They also know when a route is too tight to force and when parts need to come apart further.
For households around Gippsland and wider Victoria, Hawes’s Removals can assist with careful transport of bulky speciality items, including pool tables, as part of a home move or a dedicated item move. Clear access details, table size and photos supplied before the job help ensure the right people and equipment are booked.
A safer move starts before lifting
Do not wait until the truck arrives to work out how the table will get through the door. Measure the route, protect the vulnerable parts and allow enough time for careful reassembly at the other end. A pool table is built for years of games, and with the right handling, it can arrive ready for many more.