

 By Nathan Hawes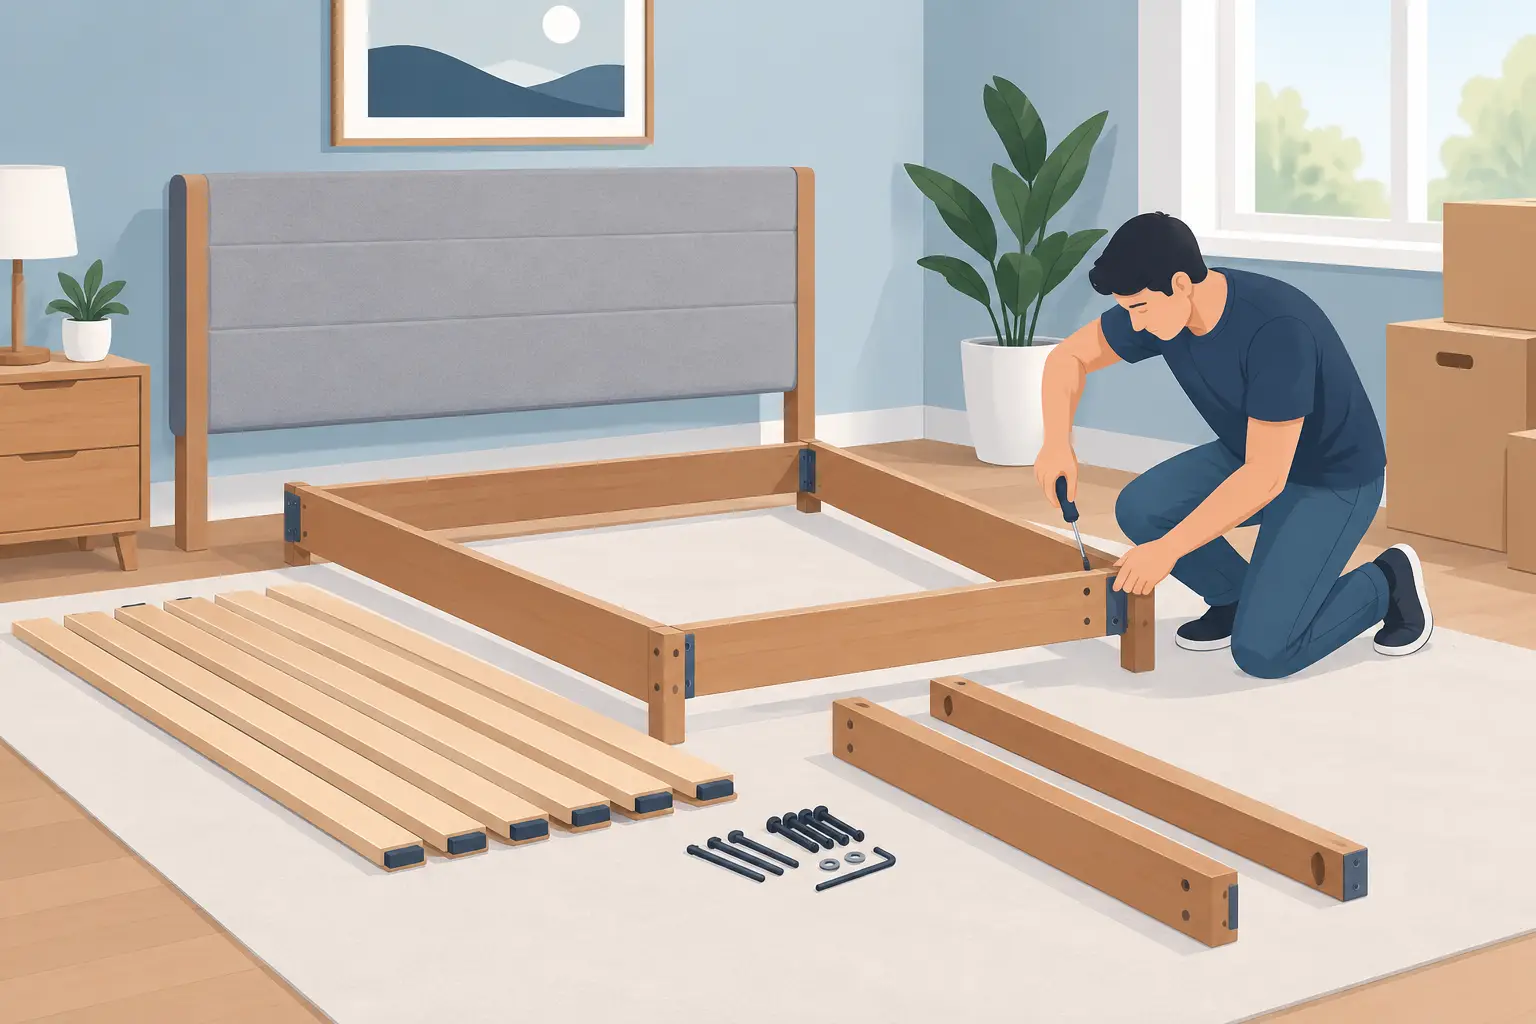
A bed frame can look straightforward until it is wedged in a narrow hallway, halfway down a staircase, with a handful of mystery bolts rolling under the dresser. Knowing how to dismantle bed frames before moving day makes loading safer, protects the furniture, and saves time at both ends of the job.
Most standard bed frames come apart without much trouble, but the right approach depends on whether you have a simple timber frame, a metal frame, an upholstered bed or a heavy gas-lift base. The aim is not just to get it apart quickly. It is to keep every piece labelled, protected and ready to go back together properly.
Check whether the bed actually needs dismantling
Before reaching for a tool, measure the bed frame and the access points at both properties. Check bedroom doors, hallways, stairwells, lifts, sharp corners and the path to the ute. A single or double frame may fit through easily, while a queen or king bed usually needs to be broken down.
Dismantling is normally worthwhile when the frame is bulky, has a tall bedhead, is solid timber, or needs to travel through a tight unit entrance. It also reduces the chance of scraping paint, chipping a wall or damaging the frame during loading.
Some beds do not dismantle in the usual way. An ensemble base is often one solid piece, although its legs may unscrew. A gas-lift storage bed has moving parts and strong struts that need extra care. If the bed is antique, has glued joints or is already loose and wobbly, taking it apart can cause more harm than good. In those cases, protect it well and get experienced removalists to assess the safest way to move it.
What you will need to dismantle a bed frame
Have the tools and packing materials ready before you start. This avoids leaving the frame half apart while you hunt through drawers for the right Allen key.
For most beds, you will need a screwdriver set, Allen keys, an adjustable spanner or socket set, masking tape, a marker, small resealable bags and a mobile for photos. Keep old towels, moving blankets or cardboard nearby to protect timber rails and upholstered pieces once they are removed.
Do not assume the original Allen key will still be tucked under the mattress. Check the frame first, then use a properly fitting tool. A loose Allen key or worn screwdriver can round out a fitting, which turns a simple job into an unnecessary repair.
How to dismantle bed frames step by step
Strip the bed completely
Remove the mattress, bedding, pillows and mattress protector first. If your bed has drawers underneath, empty them as well. This gives you clear access to the frame and makes the bed lighter to handle.
Stand the mattress upright against a clean wall only if it is stable and out of the way. Avoid bending a thick innerspring mattress too sharply. Foam mattresses are more flexible, but they can still be marked or torn if dragged across rough concrete.
Photograph the frame before removing anything
Take clear photos of each corner, the centre support, the slats and any brackets. Photograph close-ups of unusual fittings, especially if the frame has a centre rail or adjustable support legs.
These photos are useful when you are tired after moving and cannot remember which rail faced the wall. They are also handy if different bolts look similar but are not interchangeable.
Remove slats and centre supports
Lift out loose slats one at a time and stack them neatly. If the slats are joined by webbing, roll them rather than folding them hard. Tape the roll lightly so it stays together, but do not put tape directly onto unfinished timber or fabric.
Next, remove the centre support rail if there is one. Queen and king frames often have a long centre bar with one or more legs. Take off the support legs carefully and place them with the related fittings.
Take off the side rails
Side rails are usually attached to the bedhead and footboard with bolts, hooks or locking brackets. Support the rail with one hand while loosening the final bolt or releasing the bracket. A long timber rail can drop suddenly, scratch the floor or knock into the bedhead if left unsupported.
For hook-style rails, lift the rail straight upwards to release it. Do not twist it sideways or force it with a hammer. If it feels stuck, check for a small locking screw or paint build-up around the joint.
Separate the bedhead and footboard
Once the rails are off, the bedhead and footboard should be separate pieces. Remove any detachable legs, decorative finials or protruding hardware if practical. These are the parts most likely to catch on a doorway or tear a moving blanket.
If bolts remain attached to the bedhead, either leave them in their original holes or remove and bag them. Leaving them loosely threaded in place can work for large, obvious bolts, but only if they will not scratch another surface in transit.
Bag, label and secure every fitting
Put bolts, nuts, washers, brackets and Allen keys into a resealable bag. Label it clearly with the bed and room, such as “Main bedroom queen bed fittings”. Tape the bag to the inside face of the bedhead or place it in a clearly marked moving box.
Do not tape a bag directly onto a polished or painted surface. Tape can lift finishes, particularly on older timber furniture. Wrapping the fittings bag in a towel and placing it in a bedside table drawer is another option, provided the drawer is taped shut for transport.
Protect the pieces for loading
Wrap the bedhead, footboard and rails separately with moving blankets, furniture pads or clean thick blankets. Pay close attention to corners, carved details and fabric-covered edges. Cardboard corner protectors are useful for timber frames, but clean towels and firm taping can do the job for many household moves.
Keep rails bundled together with padding between them so they do not rub during the trip. Do not wind packing tape directly around timber, upholstery or veneer. Secure the protective wrap to itself instead.
When loading, place flat bed pieces upright along the side of the ute where they are supported and cannot slide. Avoid putting heavy boxes on top of a bedhead, particularly one with decorative panels or upholstered fabric. A good wrap helps, but it will not prevent damage from poor loading.
Beds that need extra care
Metal frames are usually light and simple to dismantle, but their threaded fittings can strip if cross-threaded during reassembly. Keep bolts matched to their original holes where possible.
Solid timber and antique beds can be surprisingly heavy. Their joints may have tightened over years of use, and forcing them apart can split the timber. Gentle pressure, patience and support from a second person are safer than levering at a joint.
Gas-lift storage beds deserve particular caution. The struts are under tension, and the lifting mechanism can move unexpectedly. Unless you have the manufacturer’s instructions and know how the mechanism is secured, leave the base assembled or arrange professional help. The same applies to wall beds, adjustable electric beds and frames with built-in lighting or charging points.
Reassembling the bed at the new place
Bring all parts into the room before putting the bed back together. It is frustrating to assemble a king frame, then realise it needs to come apart again to clear a tight bedroom door.
Start with the bedhead and footboard, attach the side rails loosely, then fit the centre rail and support legs. Add the slats once the main frame is square. Only tighten all bolts after checking that the frame sits level and the rails are properly seated.
If the bed squeaks after reassembly, check that all bolts are snug and the centre support legs are touching the floor. Do not overtighten fittings in particleboard or softer timber, as this can damage the thread and make the joint weaker.
For households across Gippsland, Hawes’s Removals can handle selected furniture dismantling and reassembly as part of a move, particularly when access is tight or the frame is heavy. It is a practical option when you would rather spend moving day settling the family than sorting bolts on the floor.
A few labelled fittings and careful photos can turn a bed frame from the awkward item in the move into one of the first things ready for a proper night’s sleep in your new home.